|
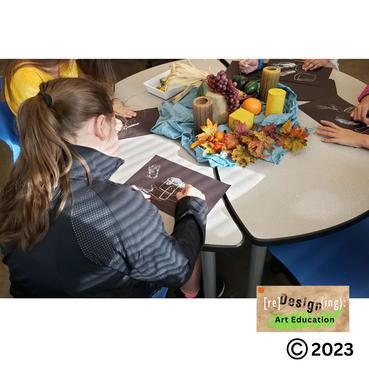
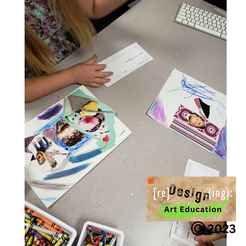
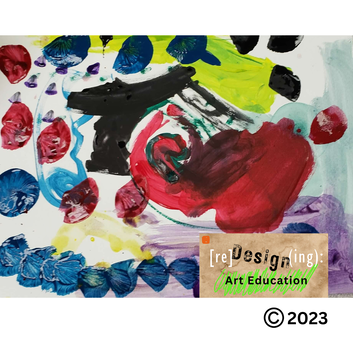
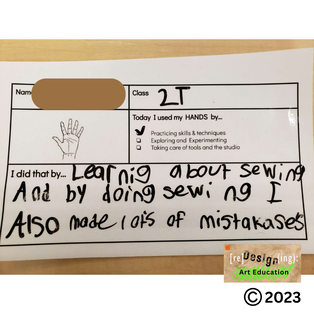
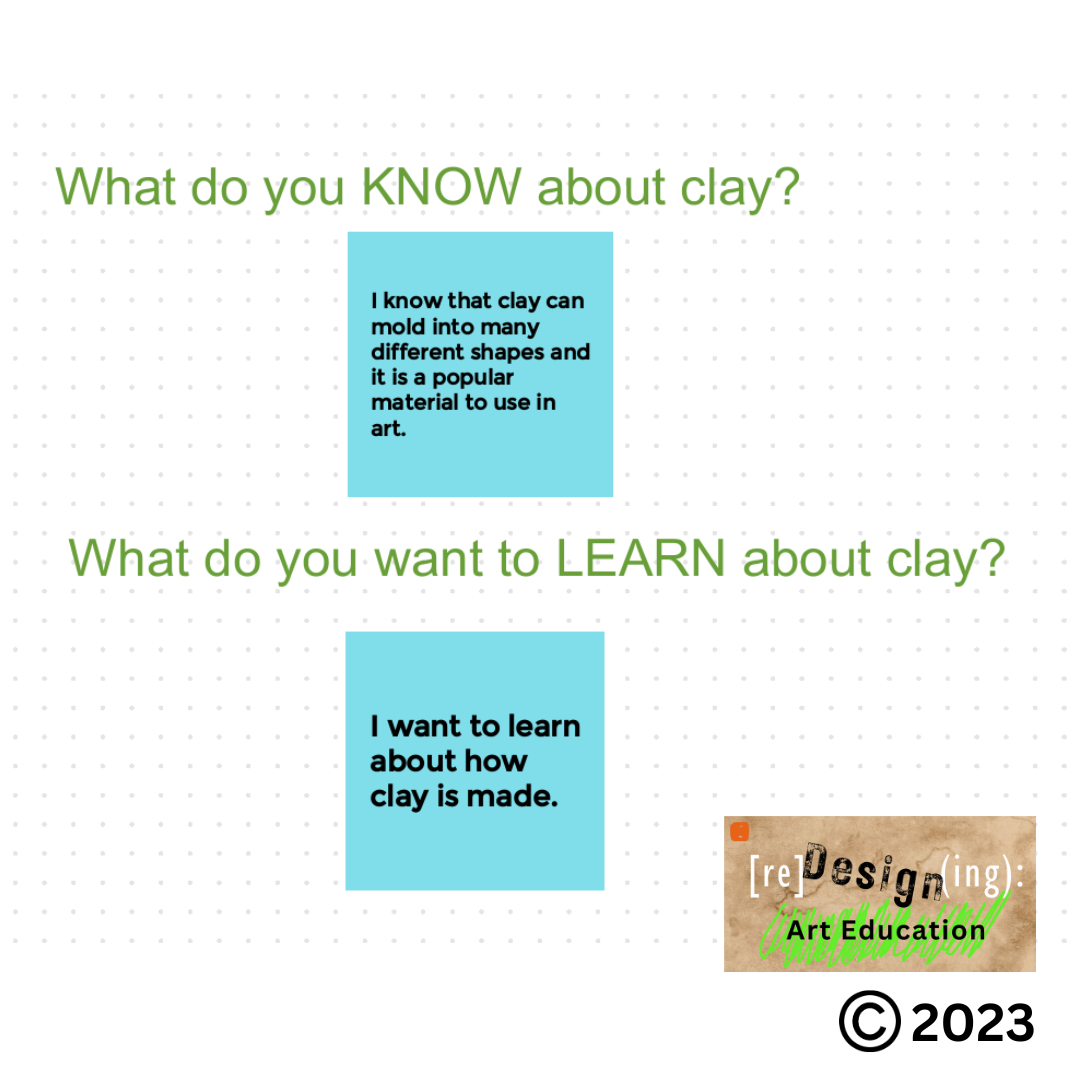
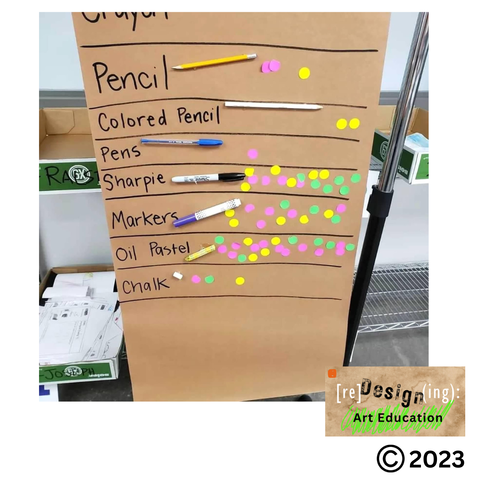
The skill builder is complete! Now, what? Upon completing skill builders, I have students reflect on their learning. There are various activities below that I use. Remember, these are just suggestions, and you can adapt them to suit the specific needs and preferences of your students. The goal is to ensure that they not only complete the skill builders but also actively engage with the material, reflect on their learning, and continue to build upon their newfound knowledge and skills. Design a Skill Builder (Part one) can be found here. Process Engage in peer sharing: Allow students time to share anything that they liked or disliked and what key information they learned. Encourage them to articulate what they found most valuable or interesting. Highlight vital information: Select a distinctive color to emphasize important information. You may consider the following questions while prompting students to highlight: What is your favorite technique? Which technique do you think you will use? Which was the messy material? Which material was easy to work with? Foster Inquisitiveness: Have students choose a different color and provide them with the following sentence starters: “What if…?” “I wonder..” and “I want to try..”. This will pique students' curiosity and invite them to try new ideas. Connect Relate to Prior Learning Experiences: Spend some time drawing connections between the newly acquired skills and prior knowledge in the classroom. Explore similarities with questions like “How is this like…?” “Does it remind you of…?” Explore differences with questions like “How is this different from…” Begin to develop art-making ideas: Students are expected to take their learning and apply it to a work of art. I ask this most crucial question: What techniques will best convey your message or purpose? This question tends to manifest best during sketching. I have students label what techniques they will be used in parts of their idea. Also, during the instruction of the skill builder, I emphasize “What do you think this technique would be best for?” “Does this technique inspire a certain idea that you might have?” What techniques will best convey your message or purpose?" Summarize Assessing Learning Standards: Evaluate your student's understanding and progress by developing an assessment that aligns with standards. The two criteria below are from the National Core Art Standards, Creating category: Anchor Standard 1: Generate and conceptualize artistic ideas and work. 2nd Grade VA:Cr1.2.2a Make art or design with various materials and tools to explore personal interests, questions, and curiosity. The 2nd-grade standard asks students to explore interests. Something as simple as reflection questions like: “What material or technique did you like the best?” could meet this standard but what is more crucial is how it is recorded. Because of the age of the students, consider documenting a class discussion and having students vote. They could also complete a short worksheet where they circle their answer and visual cues. 8th Grade VA:Cr1.1.8a Document the early stages of the creative process visually and/or verbally in traditional or new media. The 8th-grade standard wants students to document the early stages of the creative process. Developing an assessment of the creative process would be beneficial in demonstrating their learning. Ask students, “What do artists do in the first stages of the creative process?” A pre and post-assessment could best serve this instance. Evaluating and Displaying Data: Review and analyze the data from the assessments. Are there any trends? Any significant differences? Take students’ examples and assessment and create a display. This will feature the learning takes place in your creative space to share with the school community. It demonstrates how the students are directed through the creative process and taught to learn to technique to apply to their own ideas or challenge. Revisit Reluctant and stuck students: A skill builder can be a helpful tool for students that are stuck and uncertain about what to create. This method is very constructive with the added use of a list, mind map, or some type of idea-generation tool. Prompting students with questions that involve the skill builder and idea generation tool will provoke and inspire them. ‘What technique would you use to create this idea?” “Which idea is your favorite?” This should spark students’ interest and get them excited about creating. Synthesize new materials and ideas: To further enrich students’ learning experiences, I recommend exploring previous skills builders upon completing additional ones. Revisiting past skill builders provides a valuable opportunity to synthesize and merge ideas, fostering a deeper understanding. This technique is particularly beneficial in a TAB studio and choice-based classroom, as it allows students to explore diverse mixed media options, expanding their creative horizons. Revisiting past skill builders provides a valuable opportunity to synthesize and merge ideas, fostering a deeper understanding." In conclusion, the redesign of a skill builder goes beyond mere technique acquisition and incorporates the important aspect of teaching students how to utilize it as a tool for generating ideas and finding inspiration from various materials. Providing students this system of processing and analyzing information gives them a foundation in learning the creative and design process. It encourages them to think beyond the boundaries of predefined techniques and to approach their work with a fresh perspective. By enabling students to process and analyze information effectively, they gain the confidence and skills necessary to explore new possibilities and solve complex problems. The ultimate goal is to empower students to become independent makers and thinkers in their future endeavors. Providing students this system of processing and analyzing information gives them a foundation in learning the creative and design process."
0 Comments
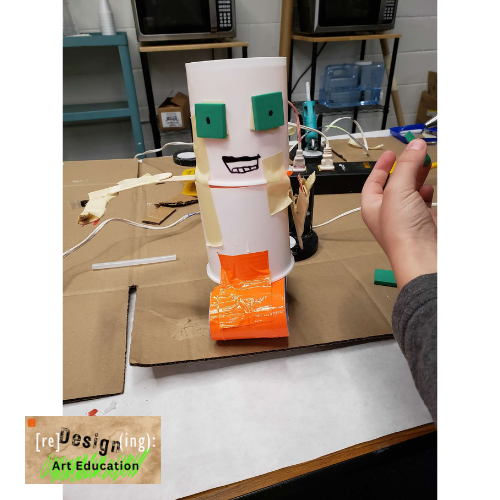
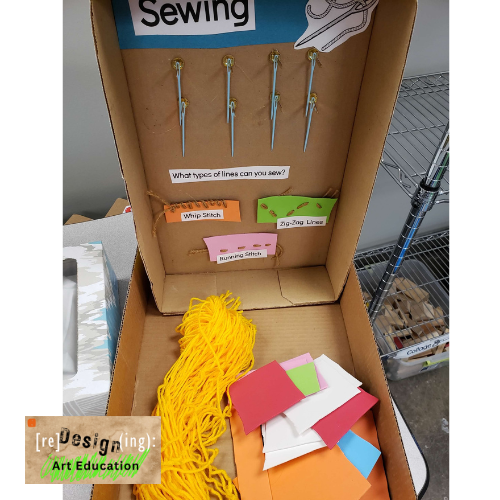
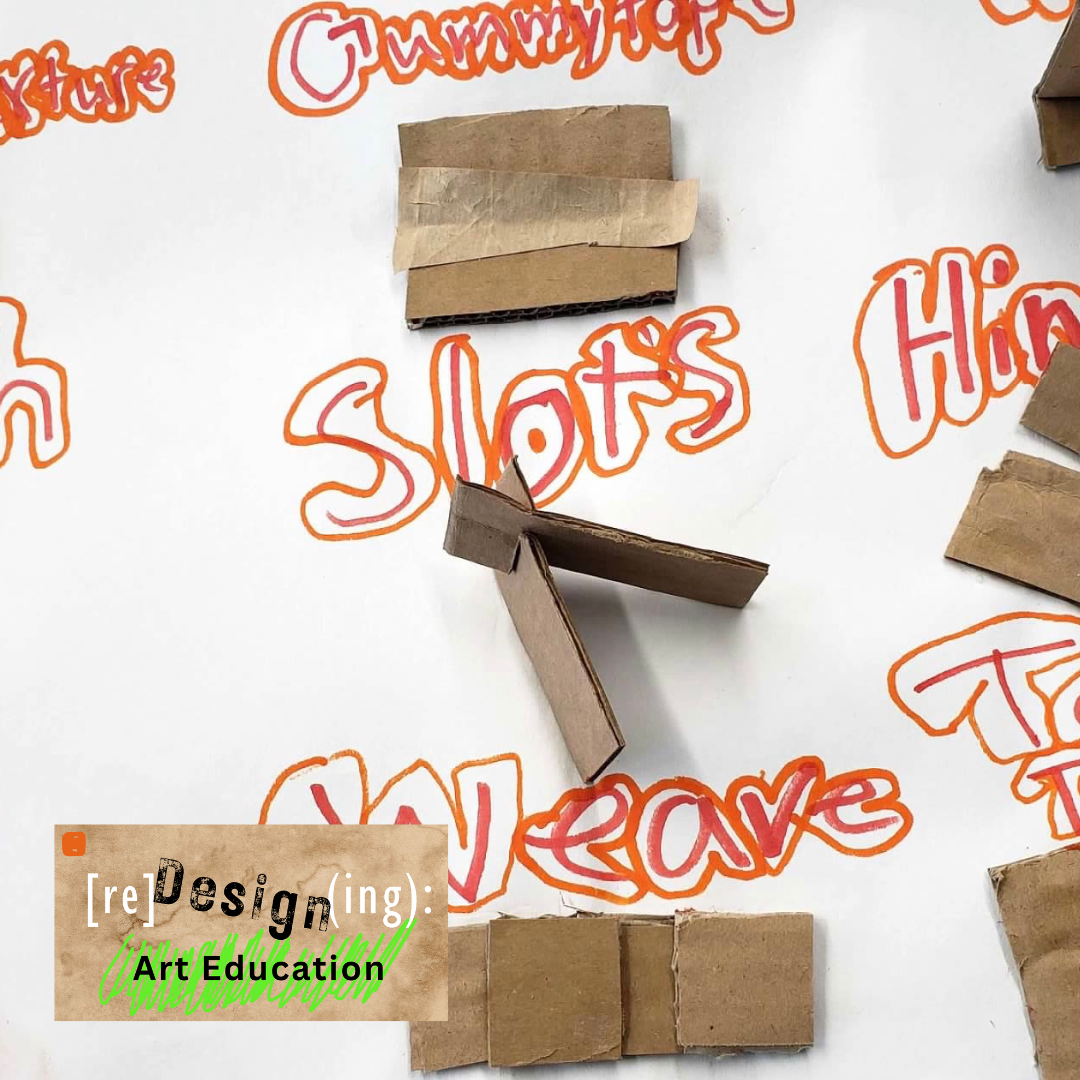
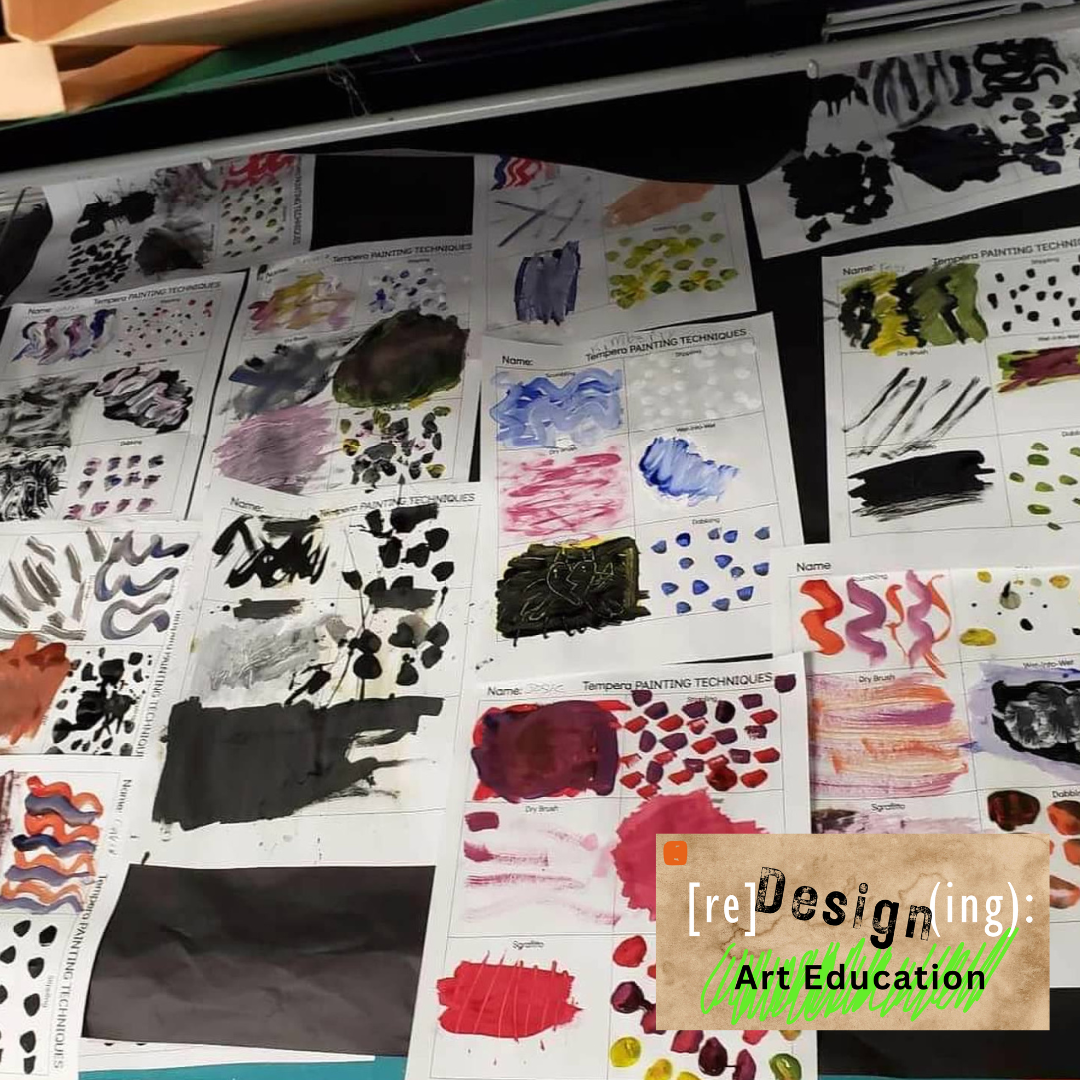
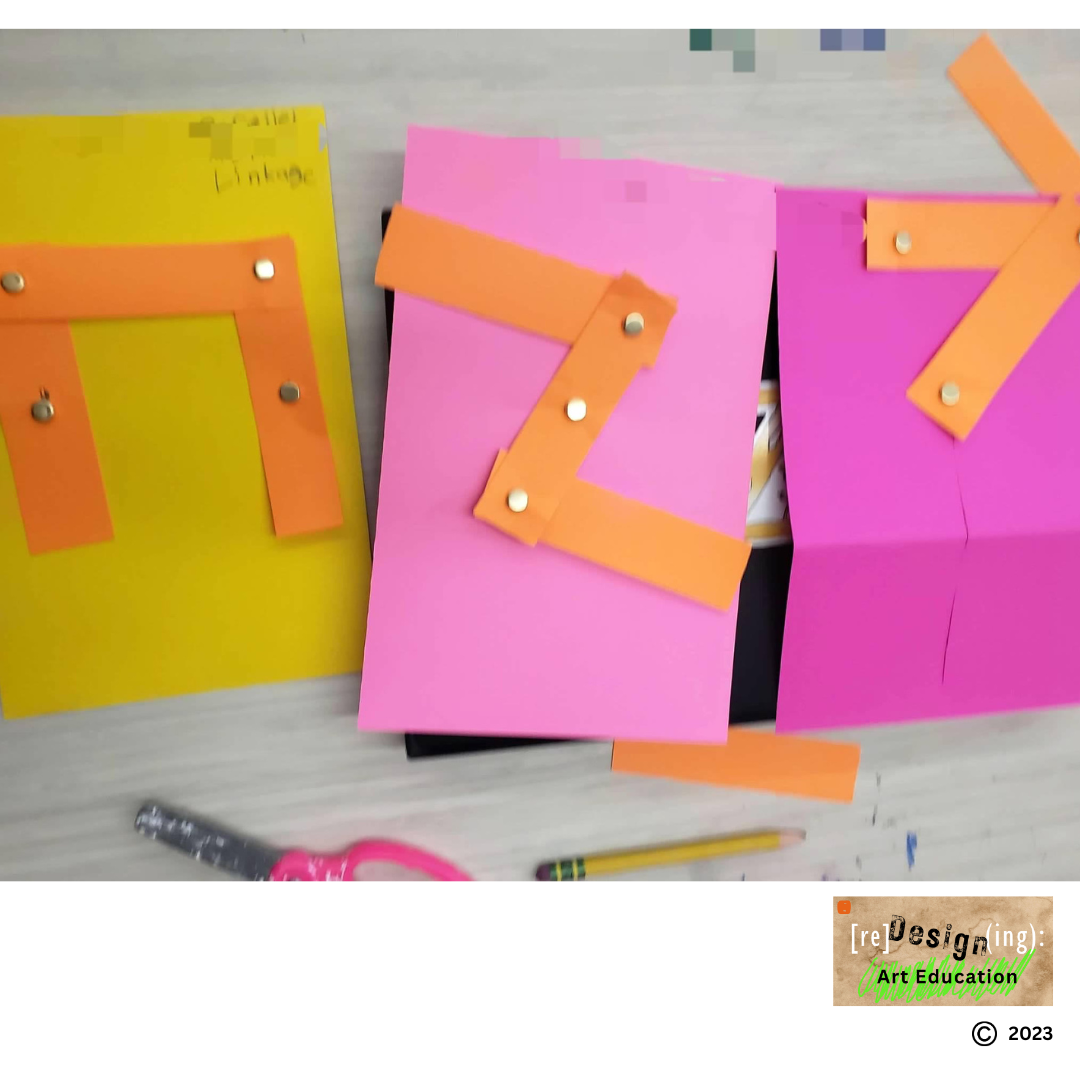
What is a skill builder? A skill builder (Also known as a boot camp or media exploration) takes students through a series of quick techniques to introduce them to new materials. Skill builders provide a grand opening to a new unit or opening a new center within the TAB studio. After I taught my first skill builder, I discovered that skill builders are very impactful tools to expand students’ learning and development of ideas. How to design a skill builder? When I begin to design a skill builder, I ask myself the following: What are the essential skills and techniques that students will need to be successful? By compiling a comprehensive list of techniques, I then strategically narrow it down to a selection of four to eight skills that will be directly taught. The determination of how many skills to cover relies on various factors such as the age of the students and the duration of class time. For primary students and shorter class periods, focusing on four skills proves to be sufficient. However, middle school students who have longer class periods at their disposal, include up to eight skills. I also decide if students will use a blank paper or worksheet. A worksheet is best for primary students and/or short class periods, and accommodating students with needs. What are the essential skills and techniques that students will need to be successful?" How to instruct a skill builder? Efficiently instructing the skill builder will require an optimal amount of time. I prepare table boxes with pre-cut and made materials for students to use with their needed tools. This eliminates any unnecessary delays, allowing the class to dive right into the skill-building activity. Additionally, I ensure that all necessary resources are available, including a well-prepared slideshow that provides pictures of each technique for students. To facilitate a clear demonstration, I make use of a document camera, which allows me to showcase techniques with clarity. Throughout the instruction, I am mindful of the "I do, We do, You do" approach developed by Madeline Hunter, which outlines the progressive stages of learning. By employing guided practice during the instruction, students are gradually empowered to work independently, honing their skills and acquiring the required practice. This will give students the fundamental scaffolding needed for them to succeed on their own. (Here is a wonderful explanation of “I do, We do, You do” from the Owl Teacher.) For “I do”, I demonstrate two techniques, explain my thinking or any other pertinent information that students will need to know about the material. This is modeling my thinking and process for them. I, then, tell students that it is their turn. During the “We do” phase, I am moving around the room and observe how students complete the task. I provide any necessary feedback or help. I repeat this process until all the assigned skills are complete. Then, I tell students that it is their turn! They get to create two new techniques on their own and name them. This provides students with time to play and experiment. STEM Integration To add a variation for STEM, I instruct a skill builder before a STEM challenge to help build students' confidence and knowledge with materials. When entering the “I do” and “We do” phases of the instruction, I don’t demonstrate to my students all the techniques. I will demonstrate one or two and then give my students the challenge of finishing on their own. I encourage students to use collaborative problem-solving to complete the skill builder. This encourages teamwork, and critical thinking, and reinforces the concepts. Integrating skill builders with STEM challenges enhances students' confidence, knowledge, and problem-solving abilities." In conclusion, designing a skill builder is a powerful tool for expanding students' learning and fostering the development of new ideas. By carefully selecting essential skills and techniques, educators can create impactful learning experiences. Considering factors such as students' age, class duration, and individual needs, a focused set of four to eight skills can be taught effectively. Providing the necessary resources and employing the "I do, We do, You do" approach facilitates gradual learning and empowers students to work independently. Additionally, integrating skill builders with STEM challenges enhances students' confidence, knowledge, and problem-solving abilities. By incorporating collaboration and critical thinking, skill builders become not only an introduction to materials but also a means to reinforce concepts and promote teamwork. Skill builders offer students a platform to explore, experiment, and build the foundation necessary for their future success. Get a free skill builder worksheet below:
|
|||||||


 RSS Feed